Web developers are expected to work with multiple languages these day. So it's inconvenient to learn everything a language has to offer and obvious to find them not utilizing full potentialof some specialized features.
We use HTML everyday. But still there is enough left to know about it. It's never too late to get back into game and start writing code that taps into the power of some under-used tags.
Here are 5+ HTML tag that almost nobdy knows.
1. Fieldset Tag
<!DOCTYPE html>
<html>
   <head>
      <title>HTML fieldset Tag</title>
   </head>
   <body>
      <form>
         <fieldset>
            <legend>Details</legend>
            Student Name: <input type = "text"><br />
            Subjects:<input type = "text"><br />
            Course Link:<input type = "url" name = "websitelink">
         </fieldset>
      </form>
   </body>
</html>

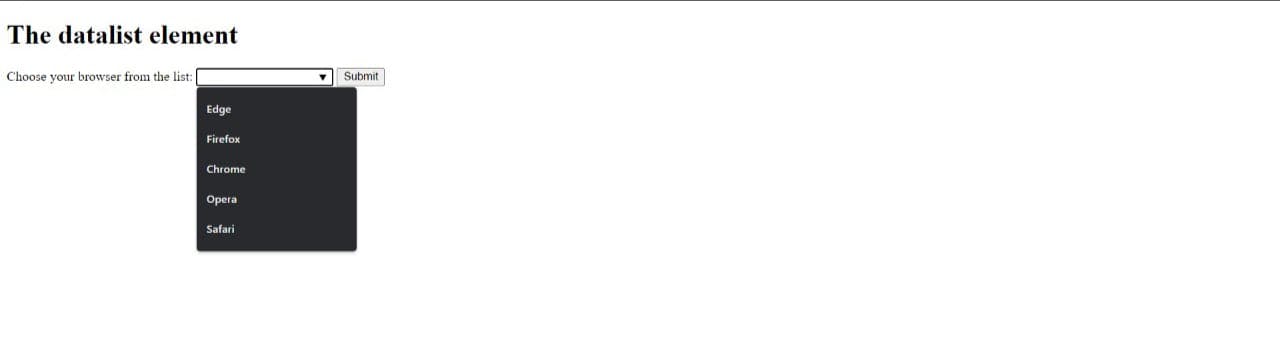
2. DataList Tag:
The <datalist> tag is used to provide an autocomplte feature to an input element. Users will get drop-down list of pre-defined options as they input data.
<!DOCTYPE html>
<html>
<body>

<h1>The datalist element</h1>

<form action="/action_page.php" method="get">
  <label for="browser">Choose your browser from the list:</label>
  <input list="browsers" name="browser" id="browser">
  <datalist id="browsers">
    <option value="Edge">
    <option value="Firefox">
    <option value="Chrome">
    <option value="Opera">
    <option value="Safari">
  </datalist>
  <input type="submit">
</form>

</body>
</html>
3.Time Tag:
The <time> tag defines a specific time (or datetime). The datetime attribute of this element is used to translate the time into a machine-readable format so that browsers can offer to add date reminders through the user's
calendar, and search engines can produce smarter search results.
<!DOCTYPE html>
<html>
<body>

<h1>The time element</h1>

<p>Open from <time>10:00</time> to <time>21:00</time> every weekday.</p>
</body>
</html>

4. Color Picker Tag:
The <color> tag defines a color picker. It provides the user interface that lets a user specify a color, either by using a visual color picker or by entering hexadecimal value of a color.
<!DOCTYPE html>
<html>
 <head>
 </head>
 <body>
   <label for="colorpicker">Color Picker:</label>
   <input type="color" id="colorpicker" value="#0000ff">
 </body>
</html>

5. Progress Tag:
The <progress> HTML element displays an indicator showing progress of a task, typically displayed as a progress bar.
<!DOCTYPE html>
<html>
<body>

<h1>The progress element</h1>

<label for="file">Downloading progress:</label>
<progress id="file" value="32" max="100"> 32% </progress>

</body>
</html>

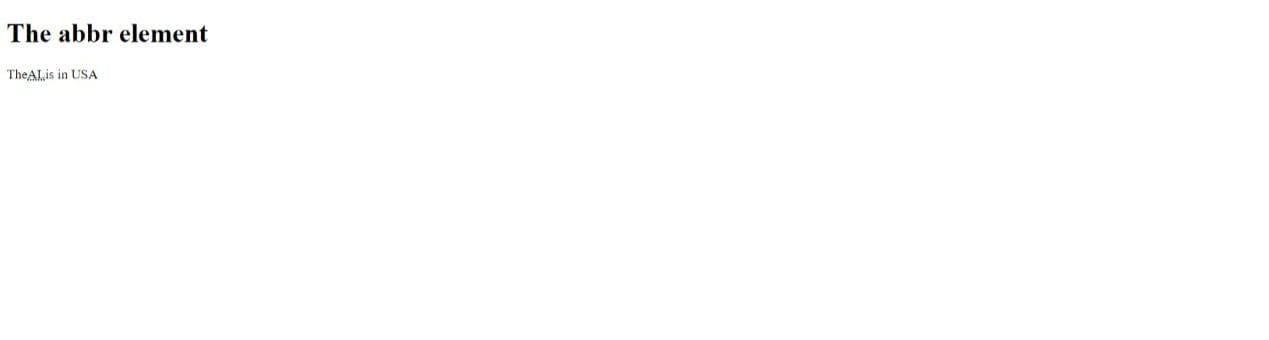
6. Abbreviation Tag:
The <abbr> tag is used to define acronym or abbreviation of an element. It is used to provide useful information to the browsers, translation systems, and search engines. Learn in-depth about abbreviation tag here.
<!DOCTYPE html>
<html>
<body>

<h1>The abbr element</h1>

<p>The<abbr title="Alabama">AL</abbr>is in USA</p>

</body>
</html>
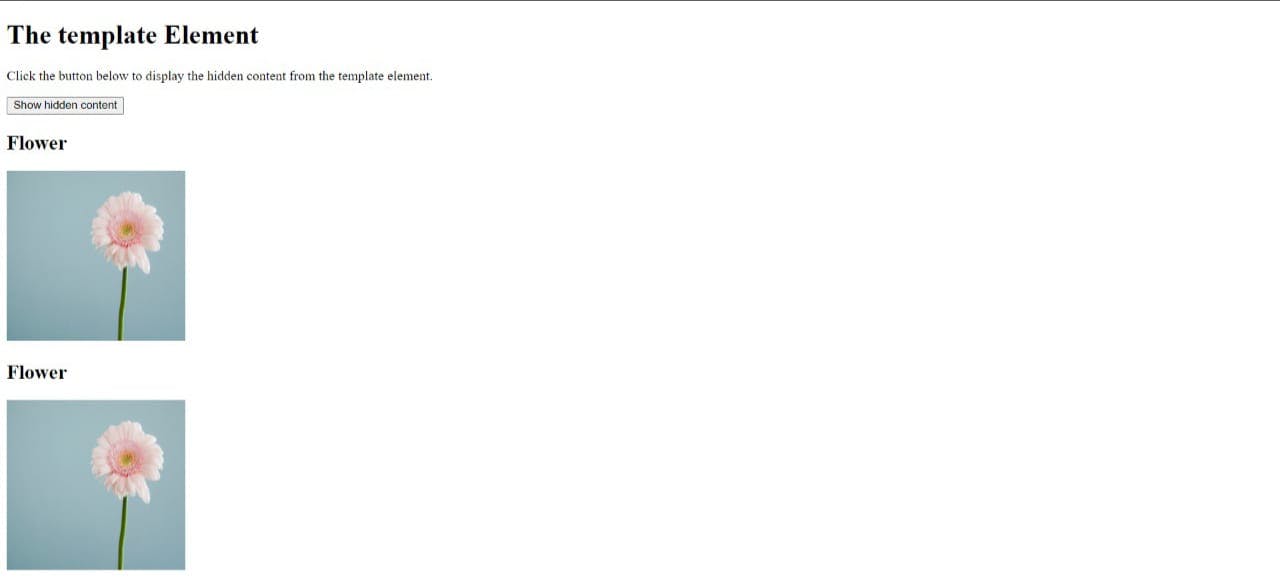
7. Template Tag:
<!DOCTYPE html>
<html>
<body>

<h1>The template Element</h1>

<p>Click the button below to display the hidden content from the template element.</p>

<button onclick="showContent()">Show hidden content</button>

<template>
  <h2>Flower</h2>
  <img src="https://www.deadlinenews.co.uk/wp-content/uploads/2020/10/andrew-small-EfhCUc_fjrU-unsplash-scaled.jpg" width="214" height="204">
</template>

<script>
function showContent() {
  var temp = document.getElementsByTagName("template")[0];
  var clon = temp.content.cloneNode(true);
  document.body.appendChild(clon);
}
</script>

</body>
</html>
Thanks A Lord For Publish In Your Blog, This Is A Great Thing To Learn About. Keep Posting Many Blogs Like This.
ReplyDeletehttps://outstripinfotech.com/